Sunday, August 20, 2017

HAPPY MAIL

Never did I expect to have these in my book collection.  I love books.


And the latest arrival is all about Series III.


Bedtime reading for Garry Treen.


AND THE ENGINE IS REMOVED

Yesterday "Forrest" lost his bulkhead and today his engine.  We now have quite a naked chassis.

Richard and Christopher came over to check on the progress and helped Garry remove the engine.

The gear box will be removed next followed by the front and back axles.  It will then be time to start the repairs on the chassis after it has been sandblasted.


Friday, August 18, 2017

PICK-A-PART II and LAND ROVER IDENTIFICATION

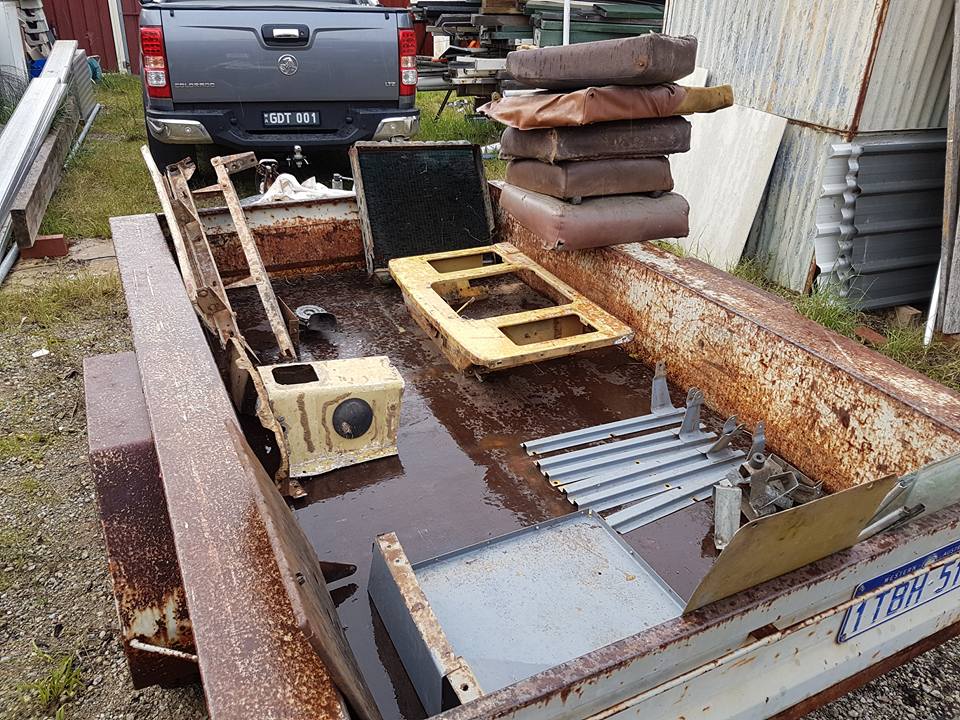
One of the things you discover when you start a Land Rover restoration is that you can always do with more spare parts.  With this in mind, Garry and his brother Richard carried out another raid  took another trip north to our Land Rover source. 

Mobile phones have become one of the handiest gadgets and we used one to take photos of the Landies left behind as there were still a couple of items that Garry was thinking of changing on "Forrest".  It was handy to be able to refer to the photos and help job the memory of exactly what was still available.  By the time he contacted the owner to organize another visit, he'd already sold one of the Landies for $700.00.  Compared to what we have been paying him for parts, we think he got ripped off,  Mind you, he has so many cars and the place is so disorganized and messy, he really needs to be getting rid of stuff.  Anyway, we were still lucky enough to be able to get most of the things we wanted off the ones still left.

On Thursday, Garry continued stripping "Forrest" and removed the dashboard.  He was very pleased to discover there was no hidden rust.  We do have rust issues to deal with, it wouldn't be a Landy if it didn't have some rust, and believe me there are rust issues and then there are really bad rust issues.  Overall, our bulkhead is in pretty good nick.

Bulkhead


With dashboard removed.
Another job associated with Landy restoration is cleaning parts. 

Heater switch - before.
 And after soaking and more cleaning you end up with this.

Heater switch - after.
As you can see, we have a nice little stash of parts in reserve and lots more cleaning ahead of us.


Lately on the AULRO forum we've been reading about a member's search to discover where the serial number was stamped on his vehicle chassis.  There was usually a plate screwed or pop riveted to the bulkhead inside the cab.  If that is missing then the number could be stamped on the r/h spring hanger but just confuse things it could also be on the l/h rear spring hanger.  Then I discovered that UK Home market ones were on the RH front - Australian built ones on the spring hanger at the back of the LH rear spring.  Good to know.  The amount of knowledge in that forum never ceases to amaze me.

We used the Clifton Netherlands website to do some chassis searches when searching for information on year of manufacture for  "Forrest" and "Bev".  http://www.clifton.nl/index.html?calvin.html
We haven't managed to locate "Bev's" chassis stamp as yet but I'm sure it will be revealed once we start stripping her down.  We obtained her chassis number from the identification plate which is badly faded but visible with a bit of photo manipulation on a computer.

The plate below belongs to "Forrest".


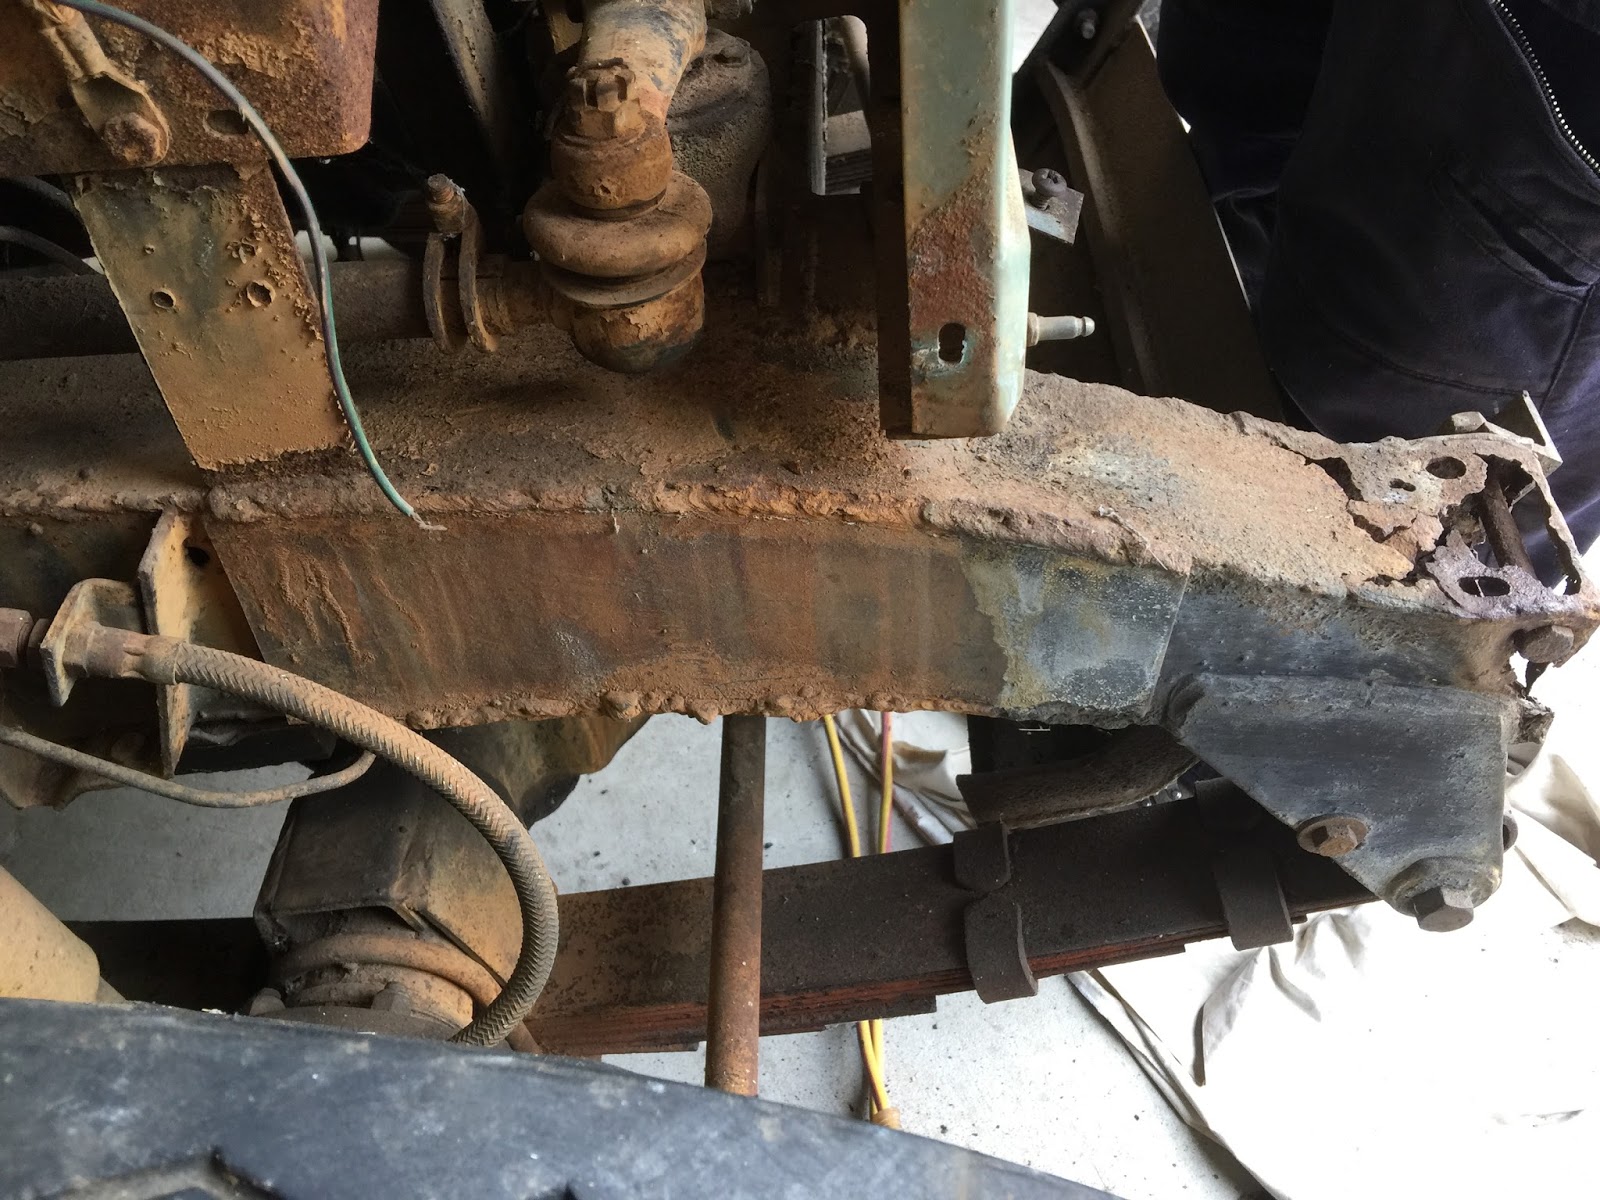
And so does this front right hand spring hanger - no signs of any numbers stamped here, or have they been removed during repair.


While we were over at the shed last week continuing the strip down and giving "Forrest" a good wash and degrease, and while Garry was distracted with other things, I decided to check out the rear left hand side spring hanger to see if I could find anything there.  Lo and behold, it was very faint but definitely looked like numbers.  I called Garry over so he could confirm that my eyes weren't deceiving me and after a light scrub and a bit of a wash all was revealed.


Monday, August 14, 2017

PICKING PARTS - A GOOD SCORE

After stripping off some panel work on Saturday we decided to give "Forrest" a good clean so we took over the degreaser and high pressure cleaner.

Here are the before and after shots.

Pretty black and greasy.

What a difference a good wash makes.

As my job description is "acquirer of parts" I've been searching online for some of the items on our list.  Now that we know a little more about "Forrest" and what we want to achieve we have created a shopping list.  When searching for specific parts without an obvious part number it's important to get the terminology correct.   For example, we know we are missing some of the heater components but we didn't know the correct name for them.  Our "go to" at the moment is the Australian Land Rover Owners Forum which is a Godsend. 

We found a front bumper with a few small dents that is better than what we have now, which is no bumper at all.  A search online revealed an add on Gumtree for Series Land Rovers in Wanneroo that may have  available parts.  Even though we were not really sure what we would find, we definitely spotted a suitable front bumper and it was worth the 45 minute one way drive up there just to get the bumper and to also check out the vehicles in his yard.  As far as we're concerned, we feel like we struck gold.

A new one would have cost us $275 - grinning.

Our box of Gold $150.00 - are we easily pleased?
Don't get distracted by the crappy duct/hose on the heater box, it just came along for the ride.


Garry managed to pull this out of the heater matrix and attached our garden hose to it on trickle to find that the water flows through beautifully so there is hope for the heater matrix yet.


Saturday, August 12, 2017

LATEST PHOTO SPAM

Posting all our photos to the blog means we can upload them to the Land Rover forum by using the URL link.  For some reason if I try to upload them directly from laptop's hard drive they load upside down.  At some stage I'm sure I'll sort this process out but for now we will just have to put up with photo spam posts. 

Today we started stripping the front end.  The bolts on the left hand side foot well were a little more difficult than the right hand side.  It was a bit awkward and not a job for 1 person alone.

As we stripped away the outer panels we got a better picture  of the various modifications carried out during the installation of the Holden 186 motor and the HTHG radiator.  Some of the repairs and modifications are a bit rough and ready but each to his own. 


As you can see, there is a just a little bit of rust on the chassis.


Modifications to fit the Holden radiator.


Part of the heating system.  The snail shell has seen better days.  We are actually missing the whole heater matrix so are currently searching for parts online.   Will have to pull this apart to see what surprises inside before we decide if it can be restored.


Right hand side of the bulkhead.


And the internal section of the right hand side bulkhead.  Note a few holes in the foot well.

Car horn or hooter - I think it's both the disc shaped parts.


Crap in the radiator hose.  Looks like yellow sand.

Battery stand.

Oh dear, it's a bit rusty.

Naked "Forrest"


Thursday, August 10, 2017

TIME TO STRIP

Today was the day that Garry started to strip "Forrest" down with the help of his brother Richard.  I was at a computer class today but I'll join in the fun next time.

First thing removed was the bonnet and then the back tailgate.  After undoing a lot of screws the roof, with the Tropical Roof still attached, was lifted off and was managed quite easily by both boys.  Garry has been calling it a Summer Roof but when I searched that term on the internet Dr Google let me know it's called a Tropical Roof so maybe just we West Aussies call it a Summer Roof.  Certainly a good idea for our summer heat whatever you call it and ours in good condition too. 

We actually still have the canvas canopy off the old Bridgetown 109 LWB  but the canvas is rotted in places and I'm sure the possums who live in the shed down there have been urinating on it as it stinks really badly.  We decided to put it out in the rain for a wash off and will give it a closer inspection next time we go down.  After looking at a full hood stick set online though I think there are some bits missing.

A little help from a floodlight.


Rear section already lifting, just the front screws left.
The roof off now give you a clear view of the groovy cammo carpet glued to the inside.  Fortunately, the glue has perished someone and I don't think the carpet will be to hard to remove.  The glue removal on the other hand we need to look into as it's all over the interior.


The pictures tell the story.  Deconstruct one bit to get the next bit off.


And now we get on to removing the front windows.  What surprises lurk beneath?  No surprises with how the windshield was attached and we like the creativity.

Shackle anyone!


THE PULLDOWN CONTINUES

Hmmm, decisions, decisions.  I've been thinking about whether to remove and replace the badly rusted pieces of the chassis before I send...